


User Registration and authentication using React, Axios, Redux toolkit, React hook form and chakra ui
In this tutorial we'll go through an example of how to build a simple user registration and login with React and Redux toolkit.


Table of contents
- First, let's start with introducing redux and redux toolkit
- 1. We will start by creating the react app with vite and by installing the libraries we need
- 2. Configure our project structure
- 3. Configuring chakra UI with our react app
- 4. Building our app pages and components
- 5. Routing between our created pages
- 6. Protect the home page with a private route
- 7. Configuring the Redux store
- 8. Organizing Redux slices and actions
- 9. React Redux useDispatch and useSelector hooks
- Conclusion
First, let's start with introducing redux and redux toolkit
Redux is a predictable state container for JavaScript apps. As the application grows, it becomes difficult to keep it organized and maintain data flow. Redux solves this problem by managing the application’s state with a single global object called Store.
Redux was always been the number one choice for every developer to manage the app state.
The Redux library is not specific to React. It's a library that you can use in any other library or framework like Angular, Vue, and even vanilla JavaScript. But developers mostly use Redux when working with React.
Redux toolkit allows us to write more efficient code, speed up the development process, and automatically apply the best-recommended practices. It was mainly created to solve the THREE MAJOR ISSUES with Redux:
Configuring a Redux store is too complicated
Have to add a lot of packages to build a large-scale application
Redux requires too much boilerplate code which makes it cumbersome to write efficient and clean code.
If you're new to redux toolkit you can check this awesome tutorial in the link below from the codevolution channel:
Redux toolkit tutorial by the codevolution channel on youtube
To see how to use React and Redux-toolkit we'll show a step-by-step guide to creating a react app with a login and registration form:
1. We will start by creating the react app with vite and by installing the libraries we need
Step 1: Create react app with vite
Vite is a build tool that aims to provide a faster and leaner development experience for modern web projects.
yarn create vite
This command will run the Vite executable from the remote npm repository. It will configure the necessary tools to scaffold a React local development environment. Finally, it will open a command-line menu for project settings and language type.
After the script finishes, you will be prompted to enter a project name:
Output
yarn create v1.22.19
[1/4] Resolving packages...
[2/4] Fetching packages...
[3/4] Linking dependencies...
[4/4] Building fresh packages...

success Installed "create-vite@4.1.0" with binaries:
- create-vite
- cva
? Project name: » vite-project
Type your project name (In this tutorial we will use tutorial-project as the project name)
After entering your project name, vite will prompt you to select a framework:
Output
? Select a framework: » - Use arrow-keys. Return to submit.
Vanilla
Vue
> React
Preact
Lit
Svelte
Others
After selecting the React framework, Vite will prompt you to choose the language type. You can use JavaScript or TypeScript to work on your project.
Use your arrow keys to select JavaScript:
Output
? Select a variant: » - Use arrow-keys. Return to submit.
> JavaScript
TypeScript
JavaScript + SWC
TypeScript + SWC
After setting up the framework, you will see an output that the project has been scaffolded. Vite will then instruct you to install dependencies using Yarn:
Output
Done:
Scaffolding project in path\to\tutorial-project...

Done. Now run:

cd tutorial-project
yarn
yarn dev

Done in 129.89s.
Now run these commands and you will finish setting app your react vite app.
yarn command will install the necessary dependencies for your app.
yarn dev command will run your project in development mode. You will receive the following output:
Output
VITE v4.0.4 ready in 847 ms

➜ Local: http://localhost:5173/
➜ Network: use --host to expose
➜ press h to show help
Next, open your browser and visit http://localhost:5173/. The default React project will be running on port 5173:
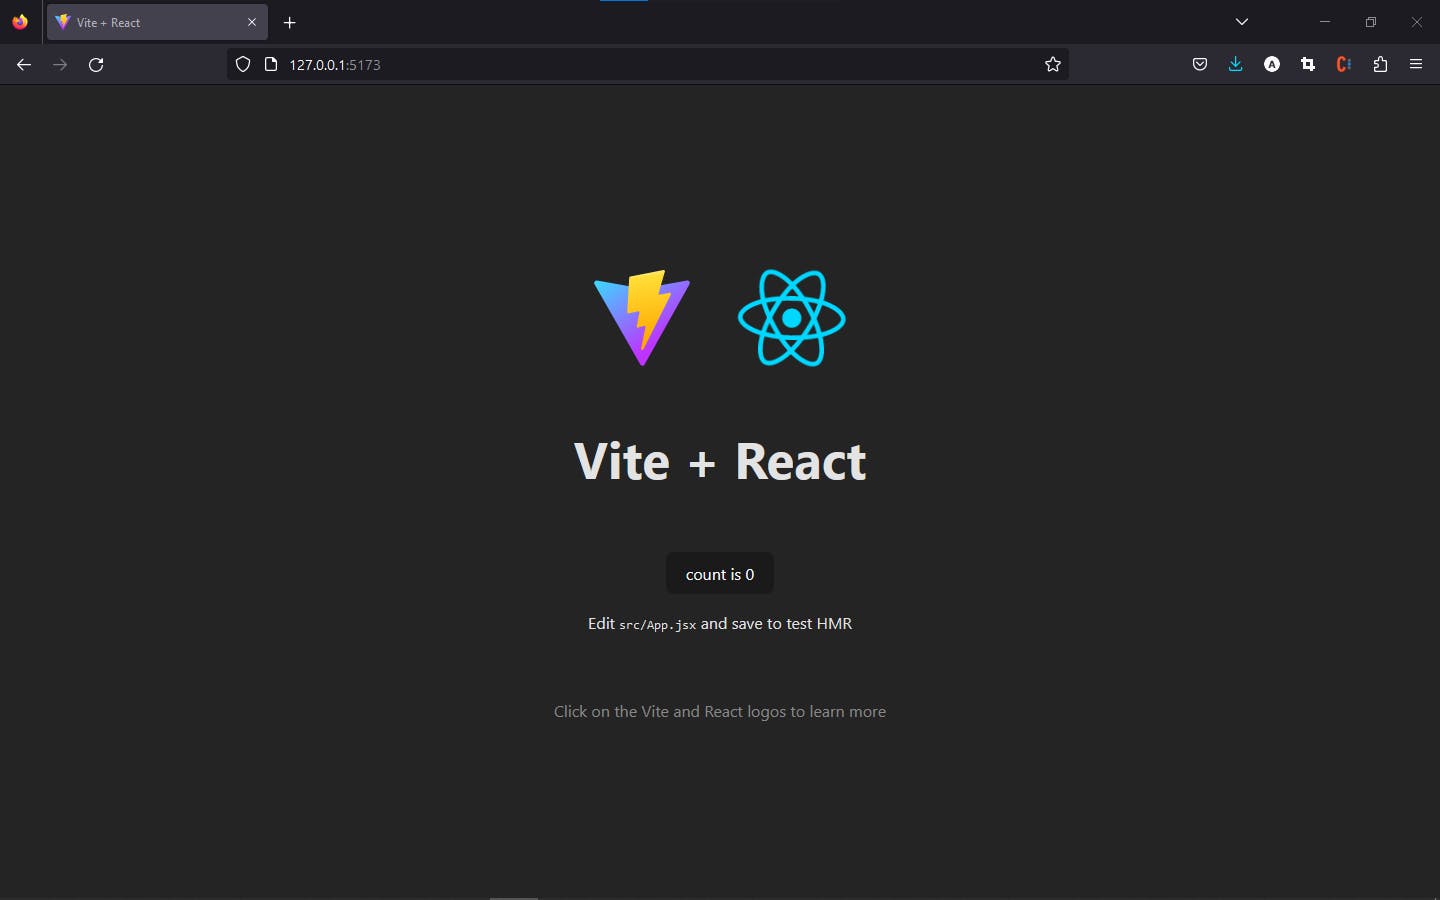
When you see this app running, you have successfully installed React with Vite.
Step 2: Install the libraries we need for our project
Let's start by installing axios, redux, redux toolkit and react router dom:
yarn add react-redux react-router-dom axios @reduxjs/toolkit react-hook-form
Now let's install Chakra UI which is a simple, modular and accessible component library that gives you the building blocks you need to build your React applications with high speed and less code.
yarn add @chakra-ui/react @emotion/react @emotion/styled framer-motion
Now after installing all our libraries let's start configuring chakra ui with our app.
2. Configure our project structure
Now let’s look at the project structure for our application. After running the create command and downloading the libraries, Vite will generate the following folder structure as shown below:
tutorial-project
┣ node_modules
┣ public
┣ src
┃ ┣ assets
┃ ┣ App.css
┃ ┣ App.jsx
┃ ┣ index.css
┃ ┗ main.jsx
┣ .gitignore
┣ index.html
┣ package.json
┣ vite.config.js
┗ yarn.lock
Let's start configuring our project structure we will delete the assets folder content, App.css and index.css.
Now remove the unused imports of App.css, index.css and the generated code from App.jsx and main.jsx and they should look like that:
//main.jsx
import React from 'react'
import ReactDOM from 'react-dom/client'
import App from './App'

ReactDOM.createRoot(document.getElementById('root')).render(
  <React.StrictMode>
      <App />
  </React.StrictMode>,
)
//app.jsx
import React from "react";

function App() {
  return (
    <p>Hello</p>
  )
}

export default App
Now let's create some folders to organize our project we will create 2 folders with the name components to put the components we will create in and pages put the website pages so our project should look like that:
tutorial-project
┣ node_modules
┣ public
┣ src
┃ ┣ assets
┃ ┣ components
┃ ┣ pages
┃ ┣ App.jsx
┃ ┗ main.jsx
┣ .gitignore
┣ index.html
┣ package.json
┣ vite.config.js
┗ yarn.lock
3. Configuring chakra UI with our react app
First To get Chakra working inside of our app, we need to configure a Provider at the root of our application. This will allow all of Chakra's components to talk to each other and use the configuration to maintain consistent styles.
Inside src/main.jsx, first let's import our Chakra Provider at the top:
import { ChakraProvider } from '@chakra-ui/react'
Wrap ChakraProvider at the root of your app.
ReactDOM.createRoot(document.getElementById('root')).render(
  <React.StrictMode>
    <ChakraProvider>
      <App />
    </ChakraProvider>
  </React.StrictMode>,
)
4. Building our app pages and components
For our components and pages, we will use ready-to-use Chakra Ui templates from the website below:
First, I used this navbar component with some modifications from the website above, here is the code:
import {
    Box,
    Flex,
    Text,
    IconButton,
    Button,
    Stack,
    Collapse,
    useColorModeValue,
    useBreakpointValue,
    useDisclosure
} from "@chakra-ui/react";
import { HamburgerIcon, CloseIcon } from "@chakra-ui/icons";
import { Link } from "react-router-dom";

export default function WithSubnavigation() {
    const { isOpen, onToggle } = useDisclosure();
    return (
        <Box>
            <Flex
                bg={useColorModeValue("white", "gray.800")}
                color={useColorModeValue("gray.600", "white")}
                minH={"60px"}
                py={{ base: 2 }}
                px={{ base: 4 }}
                borderBottom={1}
                borderStyle={"solid"}
                borderColor={useColorModeValue("gray.200", "gray.900")}
                align={"center"}
            >
                <Flex
                    flex={{ base: 1, md: "auto" }}
                    ml={{ base: -2 }}
                    display={{ base: "flex", md: "none" }}
                >
                    <IconButton
                        onClick={onToggle}
                        icon={
                            isOpen ? <CloseIcon w={3} h={3} /> : <HamburgerIcon w={5} h={5} />
                        }
                        variant={"ghost"}
                        aria-label={"Toggle Navigation"}
                    />
                </Flex>
                <Flex flex={{ base: 1 }} justify={{ base: "center", md: "start" }}>
                    <Text
                        textAlign={useBreakpointValue({ base: "center", md: "left" })}
                        fontFamily={"heading"}
                        color={useColorModeValue("gray.800", "white")}
                    >
                        Logo
                    </Text>

                    <Flex display={{ base: "none", md: "flex" }} ml={10}>
                        <DesktopNav />
                    </Flex>
                </Flex>

                <Stack
                    flex={{ base: 1, md: 0 }}
                    justify={"flex-end"}
                    direction={"row"}
                    spacing={6}
                >
                    <Button
                        as={"a"}
                        fontSize={"sm"}
                        fontWeight={400}
                        variant={"link"}
                        href={"#"}
                    >
                        Sign In
                    </Button>
                    <Button
                        as={"a"}
                        display={{ base: "none", md: "inline-flex" }}
                        fontSize={"sm"}
                        fontWeight={600}
                        color={"white"}
                        bg={"pink.400"}
                        href={"#"}
                        _hover={{
                            bg: "pink.300"
                        }}
                    >
                        Sign Up
                    </Button>
                </Stack>
            </Flex>

            <Collapse in={isOpen} animateOpacity>
                <MobileNav />
            </Collapse>
        </Box>
    );
}

const DesktopNav = () => {
    const linkColor = useColorModeValue("gray.600", "gray.200");
    const linkHoverColor = useColorModeValue("gray.800", "white");
    return (
        <Stack direction={"row"} spacing={4}>
            {NAV_ITEMS.map((navItem) => (
                <Box key={navItem.label}>
                    <Text
                        as={Link}
                        p={2}
                        to={navItem.href}
                        fontSize={"sm"}
                        fontWeight={500}
                        color={linkColor}
                        _hover={{
                            textDecoration: "none",
                            color: linkHoverColor
                        }}
                    >
                        {navItem.label}
                    </Text>
                </Box>
            ))}
        </Stack>
    );
};

const MobileNav = () => {
    return (
        <Stack
            bg={useColorModeValue("white", "gray.800")}
            p={4}
            display={{ md: "none" }}
        >
            {NAV_ITEMS.map((navItem) => (
                <MobileNavItem
                    key={navItem.label}
                    label={navItem.label}
                    href={navItem.href}
                />
            ))}
        </Stack>
    );
};

const MobileNavItem = ({ label, href }) => {
    return (
        <Stack spacing={4}>
            <Text
                fontWeight={600}
                color={useColorModeValue("gray.600", "gray.200")}
                as={Link}
                to={href}
            >
                {label}
            </Text>
        </Stack>
    );
};

const NAV_ITEMS = [
    {
        label: "Home",
        href: "/home"
    },
    {
        label: "Login",
        href: "/"
    },
    {
        label: "Sign Up",
        href: "/signUp"
    }
];
Here is a preview of the navbar component:
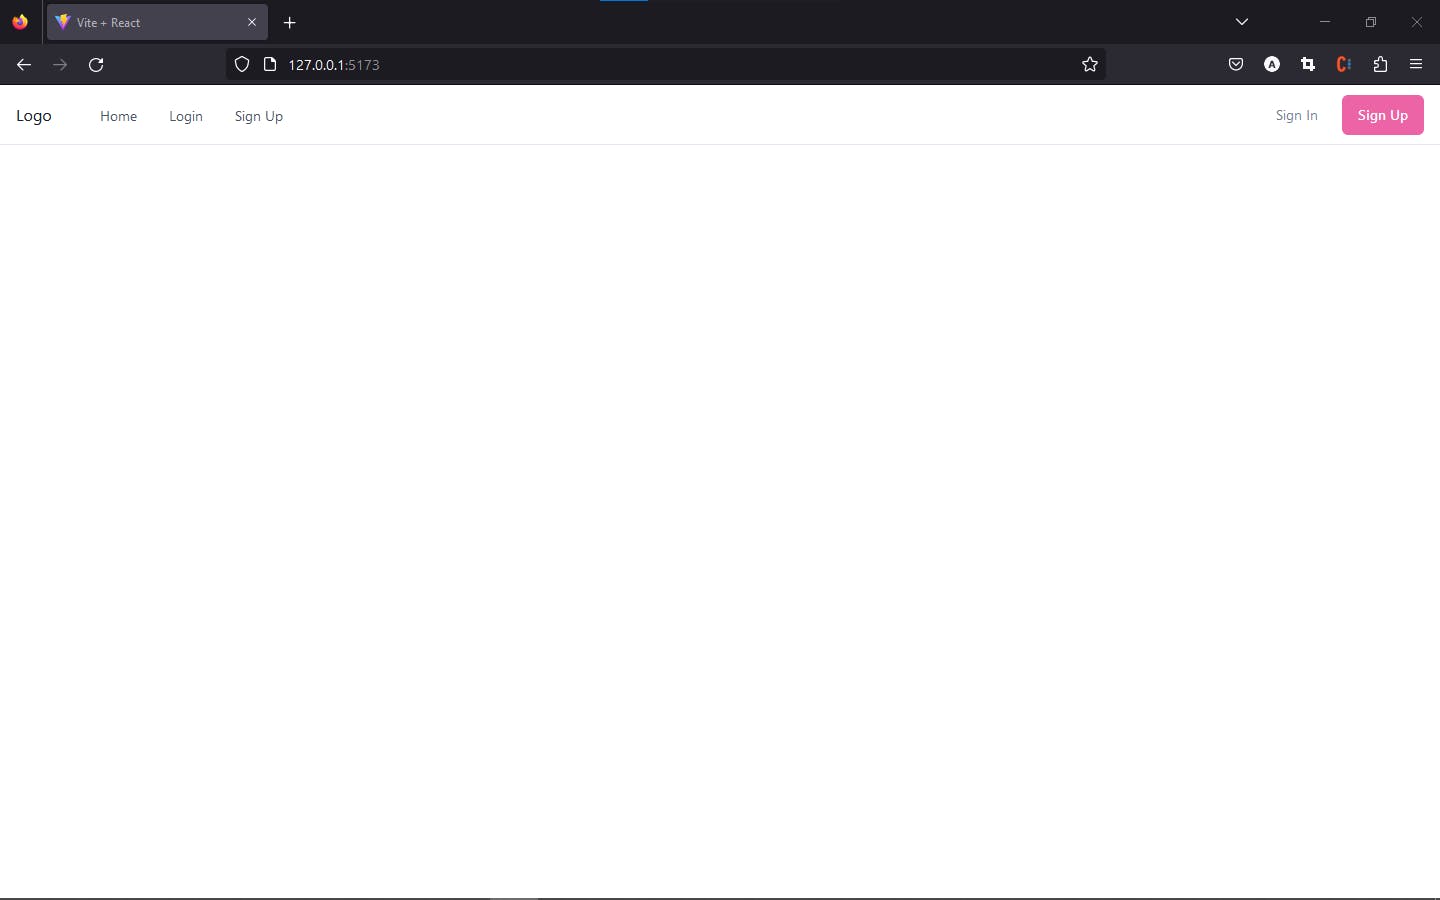
Note: Some of the templates from the site are written with typescript if you want to convert them from typescript to javascript you can use this website transform.tools.
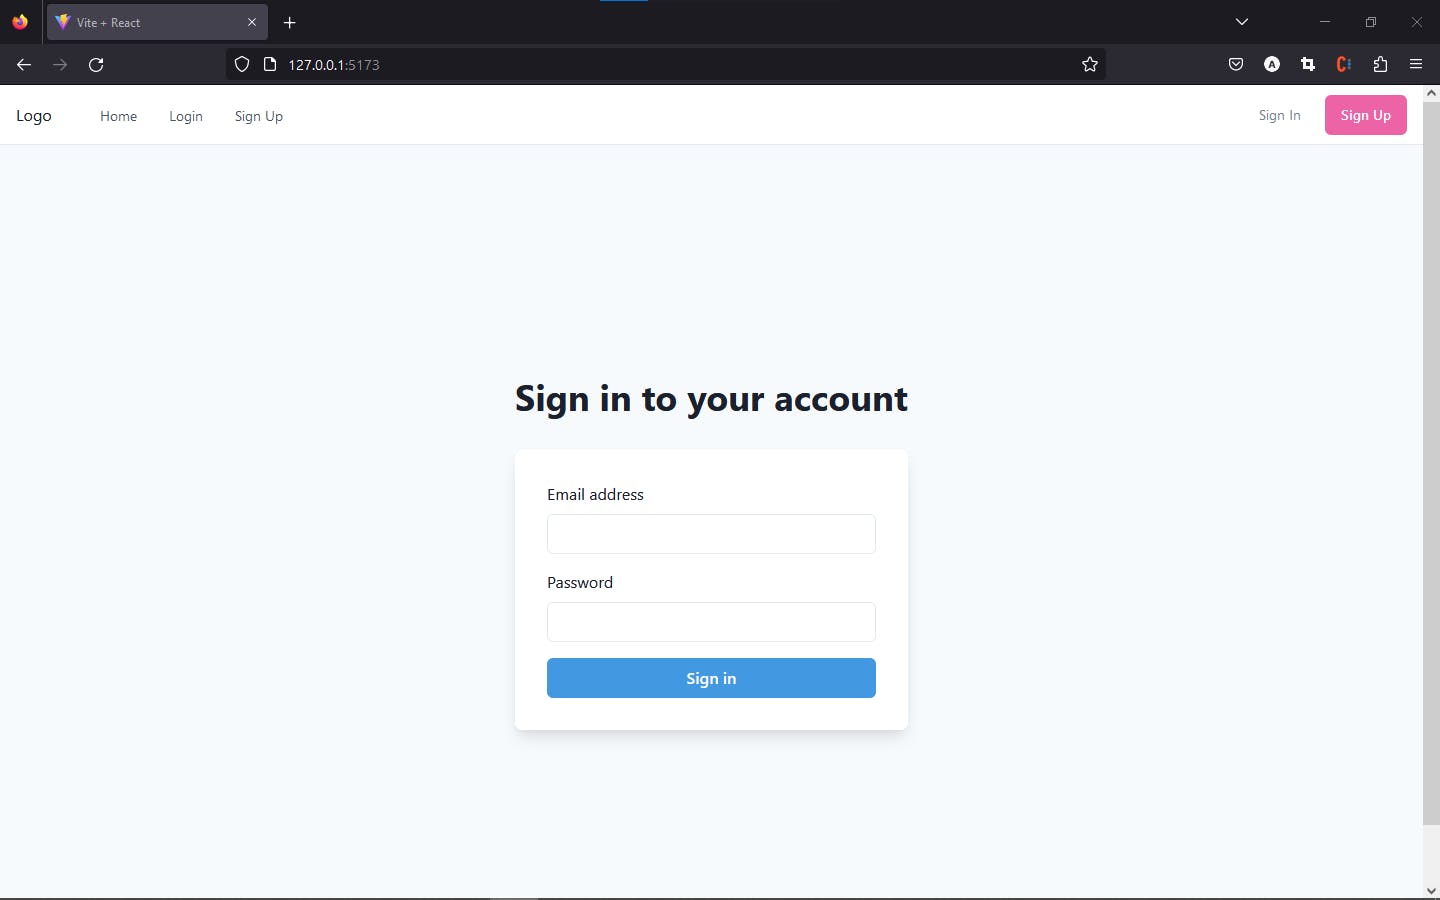
Now let's create the login page here is the code from the website with some modifications:
import {
  Flex,
  Box,
  FormControl,
  FormLabel,
  Input,
  Stack,
  Button,
  Heading,
  useColorModeValue
} from "@chakra-ui/react";

function Login() {
  return (
    <Flex
      minH={"100vh"}
      align={"center"}
      justify={"center"}
      bg={useColorModeValue("gray.50", "gray.800")}
    >
      <Stack spacing={8} mx={"auto"} maxW={"lg"} py={12} px={6}>
        <Stack align={"center"}>
          <Heading fontSize={"4xl"}>Sign in to your account</Heading>
        </Stack>
        <Box
          rounded={"lg"}
          bg={useColorModeValue("white", "gray.700")}
          boxShadow={"lg"}
          p={8}
        >
          <Stack spacing={4}>
            <FormControl id="email">
              <FormLabel>Email address</FormLabel>
              <Input type="email" />
            </FormControl>
            <FormControl id="password">
              <FormLabel>Password</FormLabel>
              <Input type="password" />
            </FormControl>
            <Button
              bg={"blue.400"}
              color={"white"}
              _hover={{
                bg: "blue.500"
              }}
            >
              Sign in
            </Button>
          </Stack>
        </Box>
      </Stack>
    </Flex>
  );
}

export default Login;
Here is a preview:
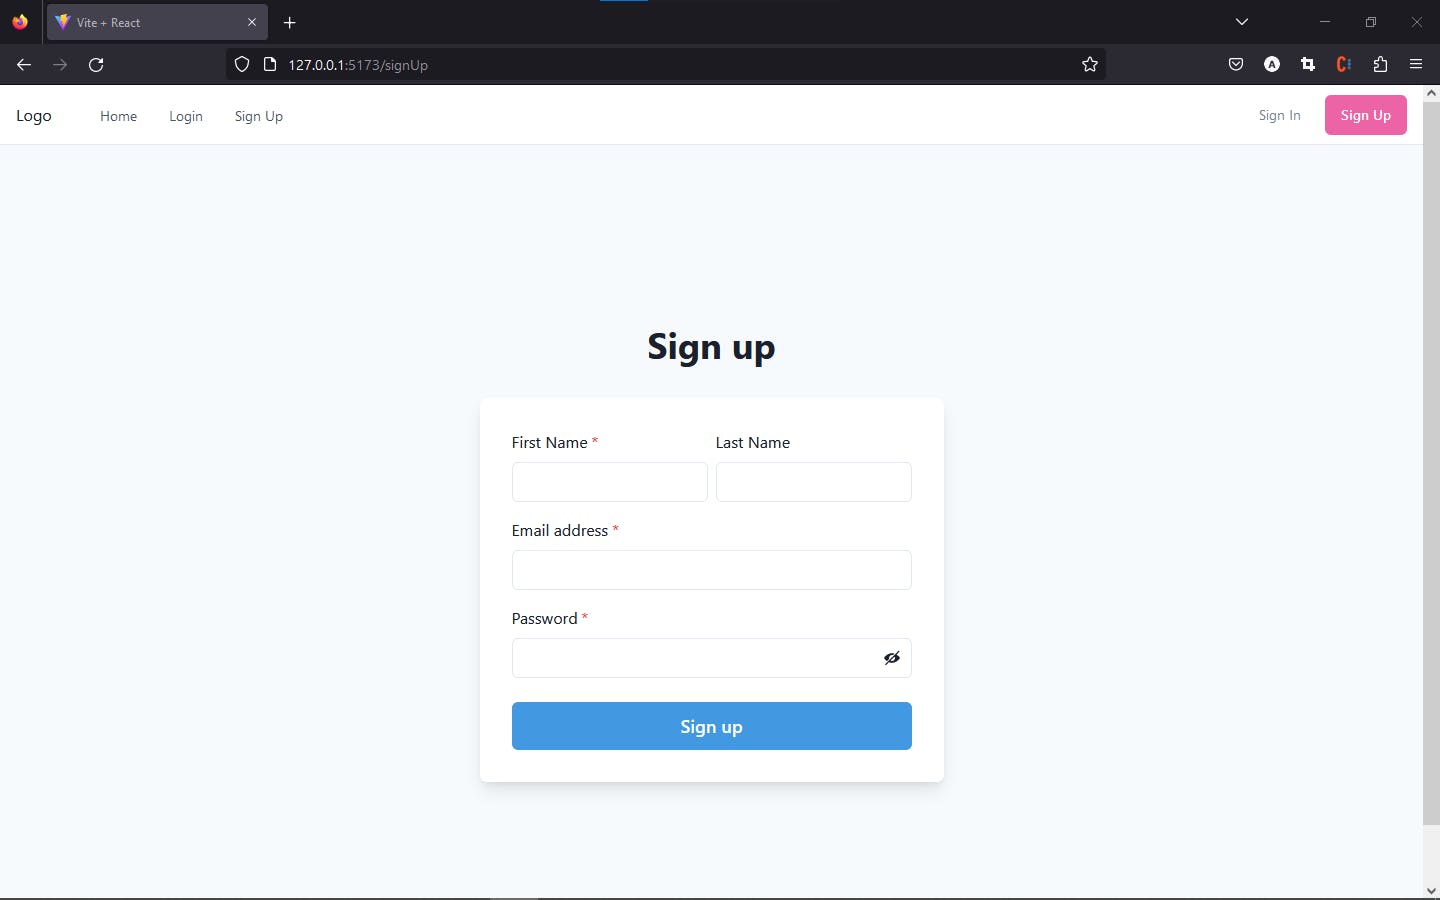
Now let's create the sign-up page here is the code from the website with some modifications:
import {
  Flex,
  Box,
  FormControl,
  FormLabel,
  Input,
  InputGroup,
  HStack,
  InputRightElement,
  Stack,
  Button,
  Heading,
  useColorModeValue
} from "@chakra-ui/react";
import { useState } from "react";
import { ViewIcon, ViewOffIcon } from "@chakra-ui/icons";

function Signup() {
  const [showPassword, setShowPassword] = useState(false);

  return (
    <Flex
      minH={"100vh"}
      align={"center"}
      justify={"center"}
      bg={useColorModeValue("gray.50", "gray.800")}
    >
      <Stack spacing={8} mx={"auto"} maxW={"lg"} py={12} px={6}>
        <Stack align={"center"}>
          <Heading fontSize={"4xl"} textAlign={"center"}>
            Sign up
          </Heading>
        </Stack>
        <Box
          rounded={"lg"}
          bg={useColorModeValue("white", "gray.700")}
          boxShadow={"lg"}
          p={8}
        >
          <Stack spacing={4}>
            <HStack>
              <Box>
                <FormControl id="firstName" isRequired>
                  <FormLabel>First Name</FormLabel>
                  <Input type="text" />
                </FormControl>
              </Box>
              <Box>
                <FormControl id="lastName">
                  <FormLabel>Last Name</FormLabel>
                  <Input type="text" />
                </FormControl>
              </Box>
            </HStack>
            <FormControl id="email" isRequired>
              <FormLabel>Email address</FormLabel>
              <Input type="email" />
            </FormControl>
            <FormControl id="password" isRequired>
              <FormLabel>Password</FormLabel>
              <InputGroup>
                <Input type={showPassword ? "text" : "password"} />
                <InputRightElement h={"full"}>
                  <Button
                    variant={"ghost"}
                    onClick={() =>
                      setShowPassword((showPassword) => !showPassword)
                    }
                  >
                    {showPassword ? <ViewIcon /> : <ViewOffIcon />}
                  </Button>
                </InputRightElement>
              </InputGroup>
            </FormControl>
            <Stack spacing={10} pt={2}>
              <Button
                loadingText="Submitting"
                size="lg"
                bg={"blue.400"}
                color={"white"}
                _hover={{
                  bg: "blue.500"
                }}
              >
                Sign up
              </Button>
            </Stack>
          </Stack>
        </Box>
      </Stack>
    </Flex>
  );
}

export default Signup;
And here is the preview:
And finally, we create a simple home page:
import { Box, Heading } from "@chakra-ui/react";

function Home() {
    return (
        <Box p={6}>
            <Heading>You are logged in</Heading>
        </Box>
    );
}

export default Home;
5. Routing between our created pages
Let's create a file with the name Router.jsx with the following code:
import { Routes, Route } from "react-router-dom";
import Home from "./pages/Home";
import SignIn from "./pages/Login";
import SignUp from "./pages/SignUp";

function Router() {
    return (
        <Routes>
            <Route path="/home" element={<Home />} />
            <Route path="/" element={<SignIn />} />
            <Route path="/signUp" element={<SignUp />} />
        </Routes>
    );
}

export default Router;
Now to make this work let's configure our App.jsx and how it should work:
import Navbar from "./components/Navbar";
import { BrowserRouter } from "react-router-dom";
import Router from "./Router";

export default function App() {
  return (
    <BrowserRouter>
      <Navbar />
      <Router />
    </BrowserRouter>
  );
}
6. Protect the home page with a private route
Let's create a private Route component to prevent non-authenticated users from accessing the home page so first, we will create a file called PrivateRoute.jsx with the following code:
import { Navigate, Outlet } from "react-router-dom";

const PrivateRoute = () => {
  return localStorage.getItem("token") ? <Outlet /> : <Navigate to={"/"} replace />;
};

export default PrivateRoute;
Let's explain this code for you:
After the user login, the login API will return in the response a token that we will save in the local storage then the private route will check if the user token exists in the local storage the user will access the protected page if not he will be redirected to the login page with the path "/" in our app.
Note: I don't recommend saving the token or any user data in the local storage for security purposes there are more secure ways to do that which I will talk about in my next posts like recoil, session storage or cookies.
Now let's implement our private route in the Router.jsx file:
function Router() {
    return (
        <Routes>
            <Route path="/" element={<SignIn />} />
            <Route path="/signUp" element={<SignUp />} />
            <Route element={<PrivateRoute/>}>
                <Route path="/home" element={<Home />} />
            </Route>
        </Routes>
    );
}

export default Router;
Every Route wrapped with <Route element={<PrivateRoute/>}> will not be accessible without signing in.
7. Configuring the Redux store
First, let's create a folder with the name store that will contain our redux store and a slices folder that will contain our slices.
Let's create our redux store in the store folder and create a file called store.jsx with the following code:
import { configureStore } from "@reduxjs/toolkit";

const store = configureStore({
    reducer: {

    },
    middleware: (getDefaultMiddleware) =>
        getDefaultMiddleware({
            immutableCheck: false,
            serializableCheck: false
        })
});

export default store;
Now we need to add the provider with the store to the main.jsx to make the redux toolkit work:
import React from 'react'
import ReactDOM from 'react-dom/client'
import App from './App'
import { ChakraProvider } from '@chakra-ui/react'
import { Provider } from 'react-redux'
import store from './store/store'

ReactDOM.createRoot(document.getElementById('root')).render(
  <React.StrictMode>
    <ChakraProvider>
      <Provider store={store}>
        <App />
      </Provider>
    </ChakraProvider>
  </React.StrictMode>,
)
8. Organizing Redux slices and actions
Now that the store is ready let's create our slices.
Create 2 file called LoginSlice.jsx and SignUpSlice.jsx with the following:
//LoginSlice.jsx
import { createSlice, createAsyncThunk } from "@reduxjs/toolkit";
import axios from "axios";

export const loginUser = createAsyncThunk(
    "users/login",
    async ({ email, password }, thunkAPI) => {
        try {
            const params = {
                email: email,
                password: password
            };
            let link = "http://localhost:8080/api/v1/auth/authenticate";
            const response = await axios.post(link, params, {
                headers: { "Content-Type": "application/json" }
            });
            let data = await response.data;
            if (response.status === 200) {
                localStorage.setItem("token", data.token);
                return data;
            } else {
                return thunkAPI.rejectWithValue(data);
            }
        } catch (e) {
            console.log("Error", e.response.data);
            thunkAPI.rejectWithValue(e.response.data);
        }
    }
);

export const LoginSlice = createSlice({
    name: "login",
    initialState: {
        token: "",
        isFetching: false,
        isSuccess: false,
        isError: false,
        errorMessage: ""
    },
    reducers: {
        clearState: (state) => {
            state.isError = false;
            state.isSuccess = false;
            state.isFetching = false;

            return state;
        }
    },
    extraReducers: (builder) => {
        builder
            .addCase(loginUser.fulfilled, (state, { payload }) => {
                state.token = payload.token;
                state.isFetching = false;
                state.isSuccess = true;
                return state;
            })
            .addCase(loginUser.rejected, (state, { payload }) => {
                state.isFetching = false;
                state.isError = true;
                state.errorMessage = payload.message
            })
            .addCase(loginUser.pending, (state) => {
                state.isFetching = true;
            })
    }
});

export const { clearState } = LoginSlice.actions;

export const loginSelector = (state) => state.login;
//SignUpSlice.jsx
import { createSlice, createAsyncThunk } from "@reduxjs/toolkit";
import axios from "axios";

export const signupUser = createAsyncThunk(
    "users/signupUser",
    async ({ firstname, lastname, email, password }, thunkAPI) => {
        try {
            let link = "http://localhost:8080/api/v1/auth/register";
            const params = {
                email: email,
                firstname: firstname,
                lastname: lastname,
                password: password
            };
            const response = await axios.post(link, params, {
                headers: { "Content-Type": "application/json" }
            });
            let data = await response.data;
            if (response.status === 200) {
                localStorage.setItem("token", data.token);
                return data;
            } else {
                return thunkAPI.rejectWithValue(data);
            }
        } catch (e) {
            console.log("Error", e.response.data);
            return thunkAPI.rejectWithValue(e.response.data);
        }
    }
);

export const SignupSlice = createSlice({
    name: "signup",
    initialState: {
        token: "",
        isFetching: false,
        isSuccess: false,
        isError: false,
        errorMessage: ""
    },
    reducers: {
        clearState: (state) => {
            state.isError = false;
            state.isSuccess = false;
            state.isFetching = false;

            return state;
        }
    },
    extraReducers: (builder) => {
        builder
            .addCase(signupUser.fulfilled, (state, { payload }) => {
                console.log(payload);
                state.token = payload.token;
                state.isFetching = false;
                state.isSuccess = true;
                return state;
            })
            .addCase(signupUser.rejected, (state, { payload }) => {
                state.isFetching = false;
                state.isError = true;
                state.errorMessage = payload.message
            })
            .addCase(signupUser.pending, (state) => {
                state.isFetching = true;
            })
    }
});

export const { clearState } = SignupSlice.actions;

export const signupSelector = (state) => state.signup;
To create your slice we need to use the createSlice function from the redux toolkit library and to implement your login API we use createAsyncThunk and Axios.
createAsyncThunk accepts three parameters: a string action type, a callback function, and an optional options object.
The callback function is an important parameter with two key arguments to take into consideration when writing Redux actions.
The first argument — arg — is the single value passed into the dispatch method when the action is called. If you need to pass multiple values, you can pass in an object.
The second argument — thunkAPI — is an object containing parameters usually passed to a Redux thunk function. Parameters include getState, dispatch, rejectWithValue, and more.
The values from the registration form are then used to make a POST request to the register route using Axios.
If an error should occur, thunkAPI.rejectWithValue will return the custom error message from the backend as a payload to the reducer.
Actions created with createAsyncThunk generates three possible lifecycle action types: pending, fulfilled, and rejected.
You can utilize these action types in the extraReducers property of LoginSliceto makes the appropriate changes to your state.
Finally, let's add our slices reducer to our store:
import { configureStore } from "@reduxjs/toolkit";
import { LoginSlice } from "./slices/LoginSlice";
import { SignupSlice } from "./slices/SignUpSlice";

const store = configureStore({
    reducer: {
        login: LoginSlice.reducer,
        signup: SignupSlice.reducer
    },
    middleware: (getDefaultMiddleware) =>
        getDefaultMiddleware({
            immutableCheck: false,
            serializableCheck: false
        })
});

export default store;
9. React Redux useDispatch and useSelector hooks
By using useSelector and useDispatch from the react-redux package, you can read the state from a Redux store and dispatch an action from any component, respectively:
// Login.jsx
import {
  Flex,
  Box,
  FormControl,
  FormLabel,
  Input,
  Stack,
  Button,
  Heading,
  useColorModeValue
} from "@chakra-ui/react";
import { useForm } from "react-hook-form";
import { useDispatch, useSelector } from "react-redux";
import { useNavigate } from "react-router-dom";
import { loginUser, loginSelector, clearState } from '../store/reducers/LoginSlice';
import { useEffect } from "react";

function Login() {
  const dispatch = useDispatch();
  const navigate = useNavigate();
  const { register, errors, handleSubmit } = useForm();
  const { isFetching, isSuccess, isError, errorMessage } = useSelector(
    loginSelector
  );
  const onSubmit = (data) => {
    dispatch(loginUser(data));
  };

  useEffect(() => {
    return () => {
      dispatch(clearState());
    };
  }, []);

  useEffect(() => {
    if (isError) {
      console.log(errorMessage);
      dispatch(clearState());
    }

    if (isSuccess) {
      dispatch(clearState());
      navigate('/home');
    }
  }, [isError, isSuccess]);
  return (
    <Flex
      minH={"100vh"}
      align={"center"}
      justify={"center"}
      bg={useColorModeValue("gray.50", "gray.800")}
    >
      <Stack spacing={8} mx={"auto"} maxW={"lg"} py={12} px={6}>
        <Stack align={"center"}>
          <Heading fontSize={"4xl"}>Sign in to your account</Heading>
        </Stack>
        <Box
          rounded={"lg"}
          bg={useColorModeValue("white", "gray.700")}
          boxShadow={"lg"}
          p={8}
        >
          <form onSubmit={handleSubmit(onSubmit)}>
            <Stack spacing={4}>
              <FormControl id="email">
                <FormLabel>Email address</FormLabel>
                <Input
                  type="email"
                  {...register('email', { pattern: /^[a-zA-Z0-9+_.-]+@[a-zA-Z0-9.-]+$/i })}
                />
              </FormControl>
              <FormControl id="password">
                <FormLabel>Password</FormLabel>
                <Input
                  type="password"
                  {...register('password', { required: true })}
                />
              </FormControl>
              {isFetching ? (
                <Button
                  isLoading
                  loadingText='Signing in'
                  bg={"blue.400"}
                  type="submit"
                  w="100%"
                  color={"white"}
                  _hover={{
                    bg: "blue.500"
                  }}
                >
                  Sign in
                </Button>
              ) : (
                <Button
                  bg={"blue.400"}
                  type="submit"
                  w="100%"
                  color={"white"}
                  _hover={{
                    bg: "blue.500"
                  }}
                >
                  Sign in
                </Button>)}
            </Stack>
          </form>
        </Box>
      </Stack>
    </Flex>
  );
}

export default Login;
When the form is submitted, the loginUser action is dispatched with the form data as its argument.
The useSelector hook is used to pull out the isFetching, isSuccess, isError and errorMessage state values from the login object in the Redux store. These values are then used to make certain UI changes, like disabling the submit button while the request is in progress, showing a spinner, and displaying an error message.
//SignUp.jsx
import {
    Flex,
    Box,
    FormControl,
    FormLabel,
    Input,
    InputGroup,
    HStack,
    InputRightElement,
    Stack,
    Button,
    Heading,
    useColorModeValue
} from "@chakra-ui/react";
import { useEffect, useState } from "react";
import { ViewIcon, ViewOffIcon } from "@chakra-ui/icons";
import { useDispatch, useSelector } from "react-redux";
import { useNavigate } from "react-router-dom";
import { useForm } from "react-hook-form";
import { signupUser, signupSelector, clearState } from '../store/slices/SignUpSlice';

function Signup() {
    const [showPassword, setShowPassword] = useState(false);
    const dispatch = useDispatch();
    const navigate = useNavigate();
    const { register, errors, handleSubmit } = useForm();
    const { isFetching, isSuccess, isError, errorMessage } = useSelector(
        signupSelector
    );
    const onSubmit = (data) => {
        dispatch(signupUser(data));
    };

    useEffect(() => {
        return () => {
            dispatch(clearState());
        };
    }, []);

    useEffect(() => {
        if (isError) {
            console.log(errorMessage);
            dispatch(clearState());
        }

        if (isSuccess) {
            dispatch(clearState());
            navigate('/');
        }
    }, [isError, isSuccess]);
    return (
        <Flex
            minH={"100vh"}
            align={"center"}
            justify={"center"}
            bg={useColorModeValue("gray.50", "gray.800")}
        >
            <Stack spacing={8} mx={"auto"} maxW={"lg"} py={12} px={6}>
                <Stack align={"center"}>
                    <Heading fontSize={"4xl"} textAlign={"center"}>
                        Sign up
                    </Heading>
                </Stack>
                <Box
                    rounded={"lg"}
                    bg={useColorModeValue("white", "gray.700")}
                    boxShadow={"lg"}
                    p={8}
                >
                    <form onSubmit={handleSubmit(onSubmit)}>
                        <Stack spacing={4}>
                            <HStack>
                                <Box>
                                    <FormControl id="firstName" isRequired>
                                        <FormLabel>First Name</FormLabel>
                                        <Input type="text" {...register('firstname', { required: true })} />
                                    </FormControl>
                                </Box>
                                <Box>
                                    <FormControl id="lastName">
                                        <FormLabel>Last Name</FormLabel>
                                        <Input type="text" {...register('lastname', { required: true })} />
                                    </FormControl>
                                </Box>
                            </HStack>
                            <FormControl id="email" isRequired>
                                <FormLabel>Email address</FormLabel>
                                <Input
                                    type="email"
                                    {...register('email', { pattern: /^[a-zA-Z0-9+_.-]+@[a-zA-Z0-9.-]+$/i })}
                                />
                            </FormControl>
                            <FormControl id="password" isRequired>
                                <FormLabel>Password</FormLabel>
                                <InputGroup>
                                    <Input
                                        type={showPassword ? "text" : "password"}
                                        {...register('password', { required: true })}
                                    />
                                    <InputRightElement h={"full"}>
                                        <Button
                                            variant={"ghost"}
                                            onClick={() =>
                                                setShowPassword((showPassword) => !showPassword)
                                            }
                                        >
                                            {showPassword ? <ViewIcon /> : <ViewOffIcon />}
                                        </Button>
                                    </InputRightElement>
                                </InputGroup>
                            </FormControl>
                            <Stack spacing={10} pt={2}>
                                {isFetching ? (
                                    <Button
                                        isLoading
                                        loadingText='Signing up'
                                        bg={"blue.400"}
                                        type="submit"
                                        w="100%"
                                        color={"white"}
                                        _hover={{
                                            bg: "blue.500"
                                        }}
                                    >
                                        Sign Up
                                    </Button>
                                ) : (
                                    <Button
                                        bg={"blue.400"}
                                        type="submit"
                                        w="100%"
                                        color={"white"}
                                        _hover={{
                                            bg: "blue.500"
                                        }}
                                    >
                                        Sign Up
                                    </Button>)}
                            </Stack>
                        </Stack>
                    </form>
                </Box>
            </Stack>
        </Flex>
    );
}

export default Signup;
Currently, when a user completes registration, there’s no indication that what they’ve done is successful. With the isSuccess value from LoginSlice alongside React Router’s useNavigate hook and the useEffect hook, you can redirect the user to the home page after signing up.
Conclusion
It's not easy to create authentication and registration in your app. You will have to make numerous decisions as to how you will track authentication status, make async requests to your backend, store tokens securely in the browser, and more.
Redux Toolkit and RTK Query do well to ease the state management and data fetching processes. You can even use them to set up role-based authentication and authorization for your app.
Feel free to share your throughts on this tutorial in the comments!
The complete source code is available here on GitHub.